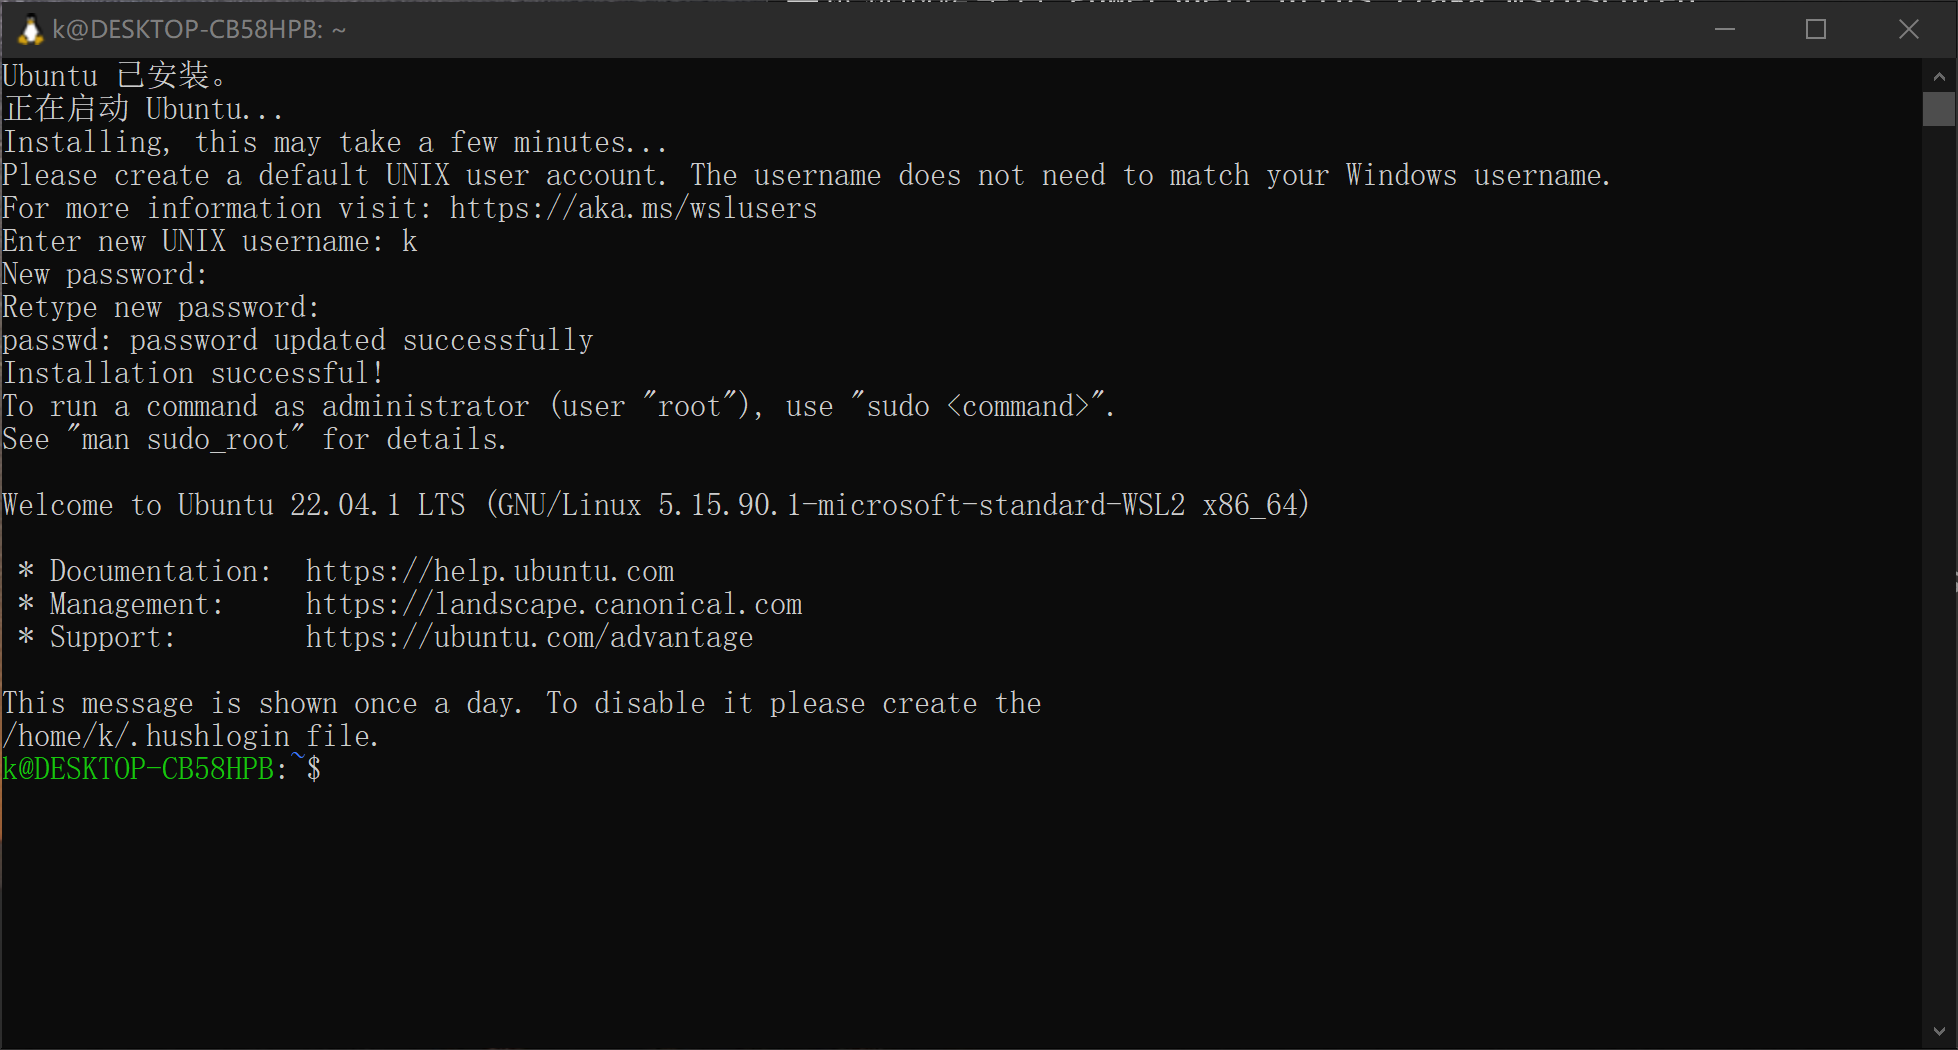
windows10-WSL2

安装

1
2
# 默认安装ubuntu,安装完成后需要重启
wsl --install

无法解析服务器端名称或地址:

image-20230326125215152
  1. 经过排查后发现是 raw.githubusercontent.com 这个域名无法访问,上代理
  2. 配置DNS

重启后弹出安装界面,等待安装完成后,输入用户名和密码,完成安装!
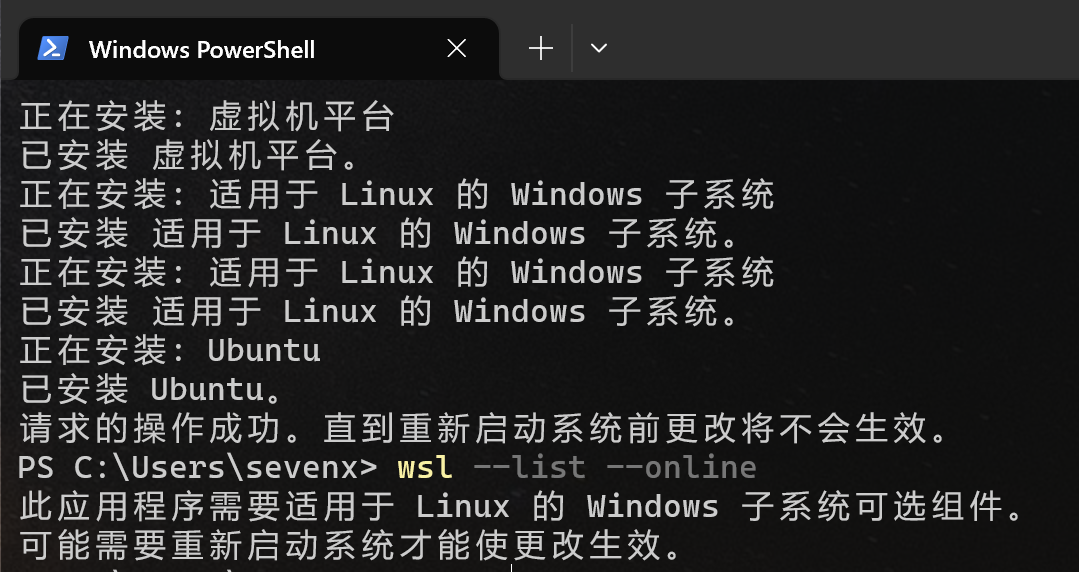
image-20230326130832653

**列出所有可用发行版 **

1
wsl --list --online

列出已安装发行版

1
wsl --list --verbose

image-20230326130041096

查看WSL状态

1
wsl --status

关闭

1
wsl --shutdown #立即终止所有正在运行的发行版和 WSL 2 轻量级实用工具虚拟机。	

注销并卸载 WSL 发行版

1
wsl --unregister <DistributionName>

基础配置

换源

1
2
3
# 换阿里源
sudo sed -i 's/http:\/\/archive.ubuntu.com/http:\/\/mirrors.aliyun.com/g' /etc/apt/sources.list
sudo sed -i 's/https:\/\/archive.ubuntu.com/http:\/\/mirrors.aliyun.com/g' /etc/apt/sources.list

更新

1
2
3
4
wsl --update


wsl --set-default-version 2

安装Ubuntu-24.04

1
2
3
4
5
# 安装
wsl --install -d Ubuntu-24.04

# 默认启动
wsl --setdefault Ubuntu-24.04

配置

换源

1
2
3
4
5
6
7
echo "deb https://mirrors.tuna.tsinghua.edu.cn/ubuntu/ noble main restricted universe multiverse
deb https://mirrors.tuna.tsinghua.edu.cn/ubuntu/ noble-updates main restricted universe multiverse
deb https://mirrors.tuna.tsinghua.edu.cn/ubuntu/ noble-security main restricted universe multiverse" | sudo tee /etc/apt/sources.list

# 更新
sudo apt update && sudo apt upgrade

root密码重置

1
sudo passwd root

0h-my-zsh

1
2
3
4
5
6
7
8
9
10
11
12
13
14
15
16
17
18
19
20
21
22
23
24
25
26
27
28
29
# 安装 ZSH
sudo apt install zsh -y
# 切换默认 Shell 为 ZSH
chsh -s $(which zsh)


# 安装zsh
sh -c "$(wget -O- https://gitee.com/mirrors/oh-my-zsh/raw/master/tools/install.sh)"
# 语法高亮插件(zsh-syntax-highlighting)
git clone https://github.com/zsh-users/zsh-syntax-highlighting.git ${ZSH_CUSTOM:-~/.oh-my-zsh/custom}/plugins/zsh-syntax-highlighting
# 自动建议插件(zsh-autosuggestions)
git clone https://github.com/zsh-users/zsh-autosuggestions ${ZSH_CUSTOM:-~/.oh-my-zsh/custom}/plugins/zsh-autosuggestions
# 快速跳转插件(autojump)
sudo apt install autojump -y

# 编辑~/.zshrc,修改该行,添加新的插件
plugins=(git zsh-syntax-highlighting zsh-autosuggestions autojump)

# powerlevel10k/powerlevel10k主题安装
git clone --depth=1 https://github.com/romkatv/powerlevel10k.git ${ZSH_CUSTOM:-$HOME/.oh-my-zsh/custom}/themes/powerlevel10k
# 将 ZSH_THEME 设置为 powerlevel10k/powerlevel10k
vim ./zshrc
#自定义
#手动编辑 ~/.p10k.zsh 文件,调整图标、颜色、间距等细节(需重启终端生效)‌47。


# 并行编译
export MAKEFLAGS="-j$(nproc)"

WSL启用和禁用

1
2
3
4
5
6
7
8
9
10
11
12
13
# 禁用 Hyper-V 和虚拟机平台
dism /online /disable-feature /featurename:Microsoft-Hyper-V /norestart
dism /online /disable-feature /featurename:VirtualMachinePlatform /norestart

# 清理残留驱动
bcdedit /set hypervisorlaunchtype off
shutdown /r /t 0

# 重启后重新启用
dism /online /enable-feature /featurename:Microsoft-Hyper-V /all /norestart
dism /online /enable-feature /featurename:VirtualMachinePlatform /all /norestart
bcdedit /set hypervisorlaunchtype auto
shutdown /r /t 0

内核编译 -ubuntu

GitHub - microsoft/WSL2-Linux-Kernel: The source for the Linux kernel used in Windows Subsystem for Linux 2 (WSL2)

官方教程:

1
2
3
4
5
6
7
8
9
10
11
12
13
sudo apt install build-essential flex bison dwarves libssl-dev libelf-dev cpio qemu-utils debhelper  build-essential
make menuconfig KCONFIG_CONFIG=Microsoft/config-wsl
make -j$(nproc) KCONFIG_CONFIG=Microsoft/config-wsl && make -j$(nproc) INSTALL_MOD_PATH="$PWD/modules" modules_install


make -j16 KCONFIG_CONFIG=Microsoft/config-wsl bindeb-pkg
# 拷贝镜像
cp arch/x86/boot/bzImage /mnt/c/Users/sevenx/Documents/02-devTool


# 在windows .wslconfig配置指定内核
[wsl2]
kernel=C:\\Users\\sevenx\\Documents\\02-devTool\\bzImage

自己定义:

1
2
3
4
5
6
7
8
9
10
11
12
13
14
15
16
17
18
19
20
21
22
cd ~

git clone --depth 1 https://github.com/microsoft/WSL2-Linux-Kernel
cd WSL2-Linux-Kernel
cp ./Microsoft/config-wsl .config
make menuconfig
# 检查配置
grep CONFIG_DEBUG_INFO .config
grep CONFIG_KPROBES .config
grep CONFIG_DEBUG_FS .config
grep CONFIG_RELAY .config
grep CONFIG_DEBUG_INFO_DWARF4 .config

# 启用未启用的项
sed -i 's/# CONFIG_DEBUG_INFO_DWARF4 is not set/CONFIG_DEBUG_INFO_DWARF4=y/' .config

#
sudo apt install build-essential flex bison dwarves libssl-dev libelf-dev cpio qemu-utils

# arch-linux
yay -S dpkg debhelper fakeroot bc rsync git binutils make gcc flex bison openssl libelf
make -j$(nproc) deb-pkg

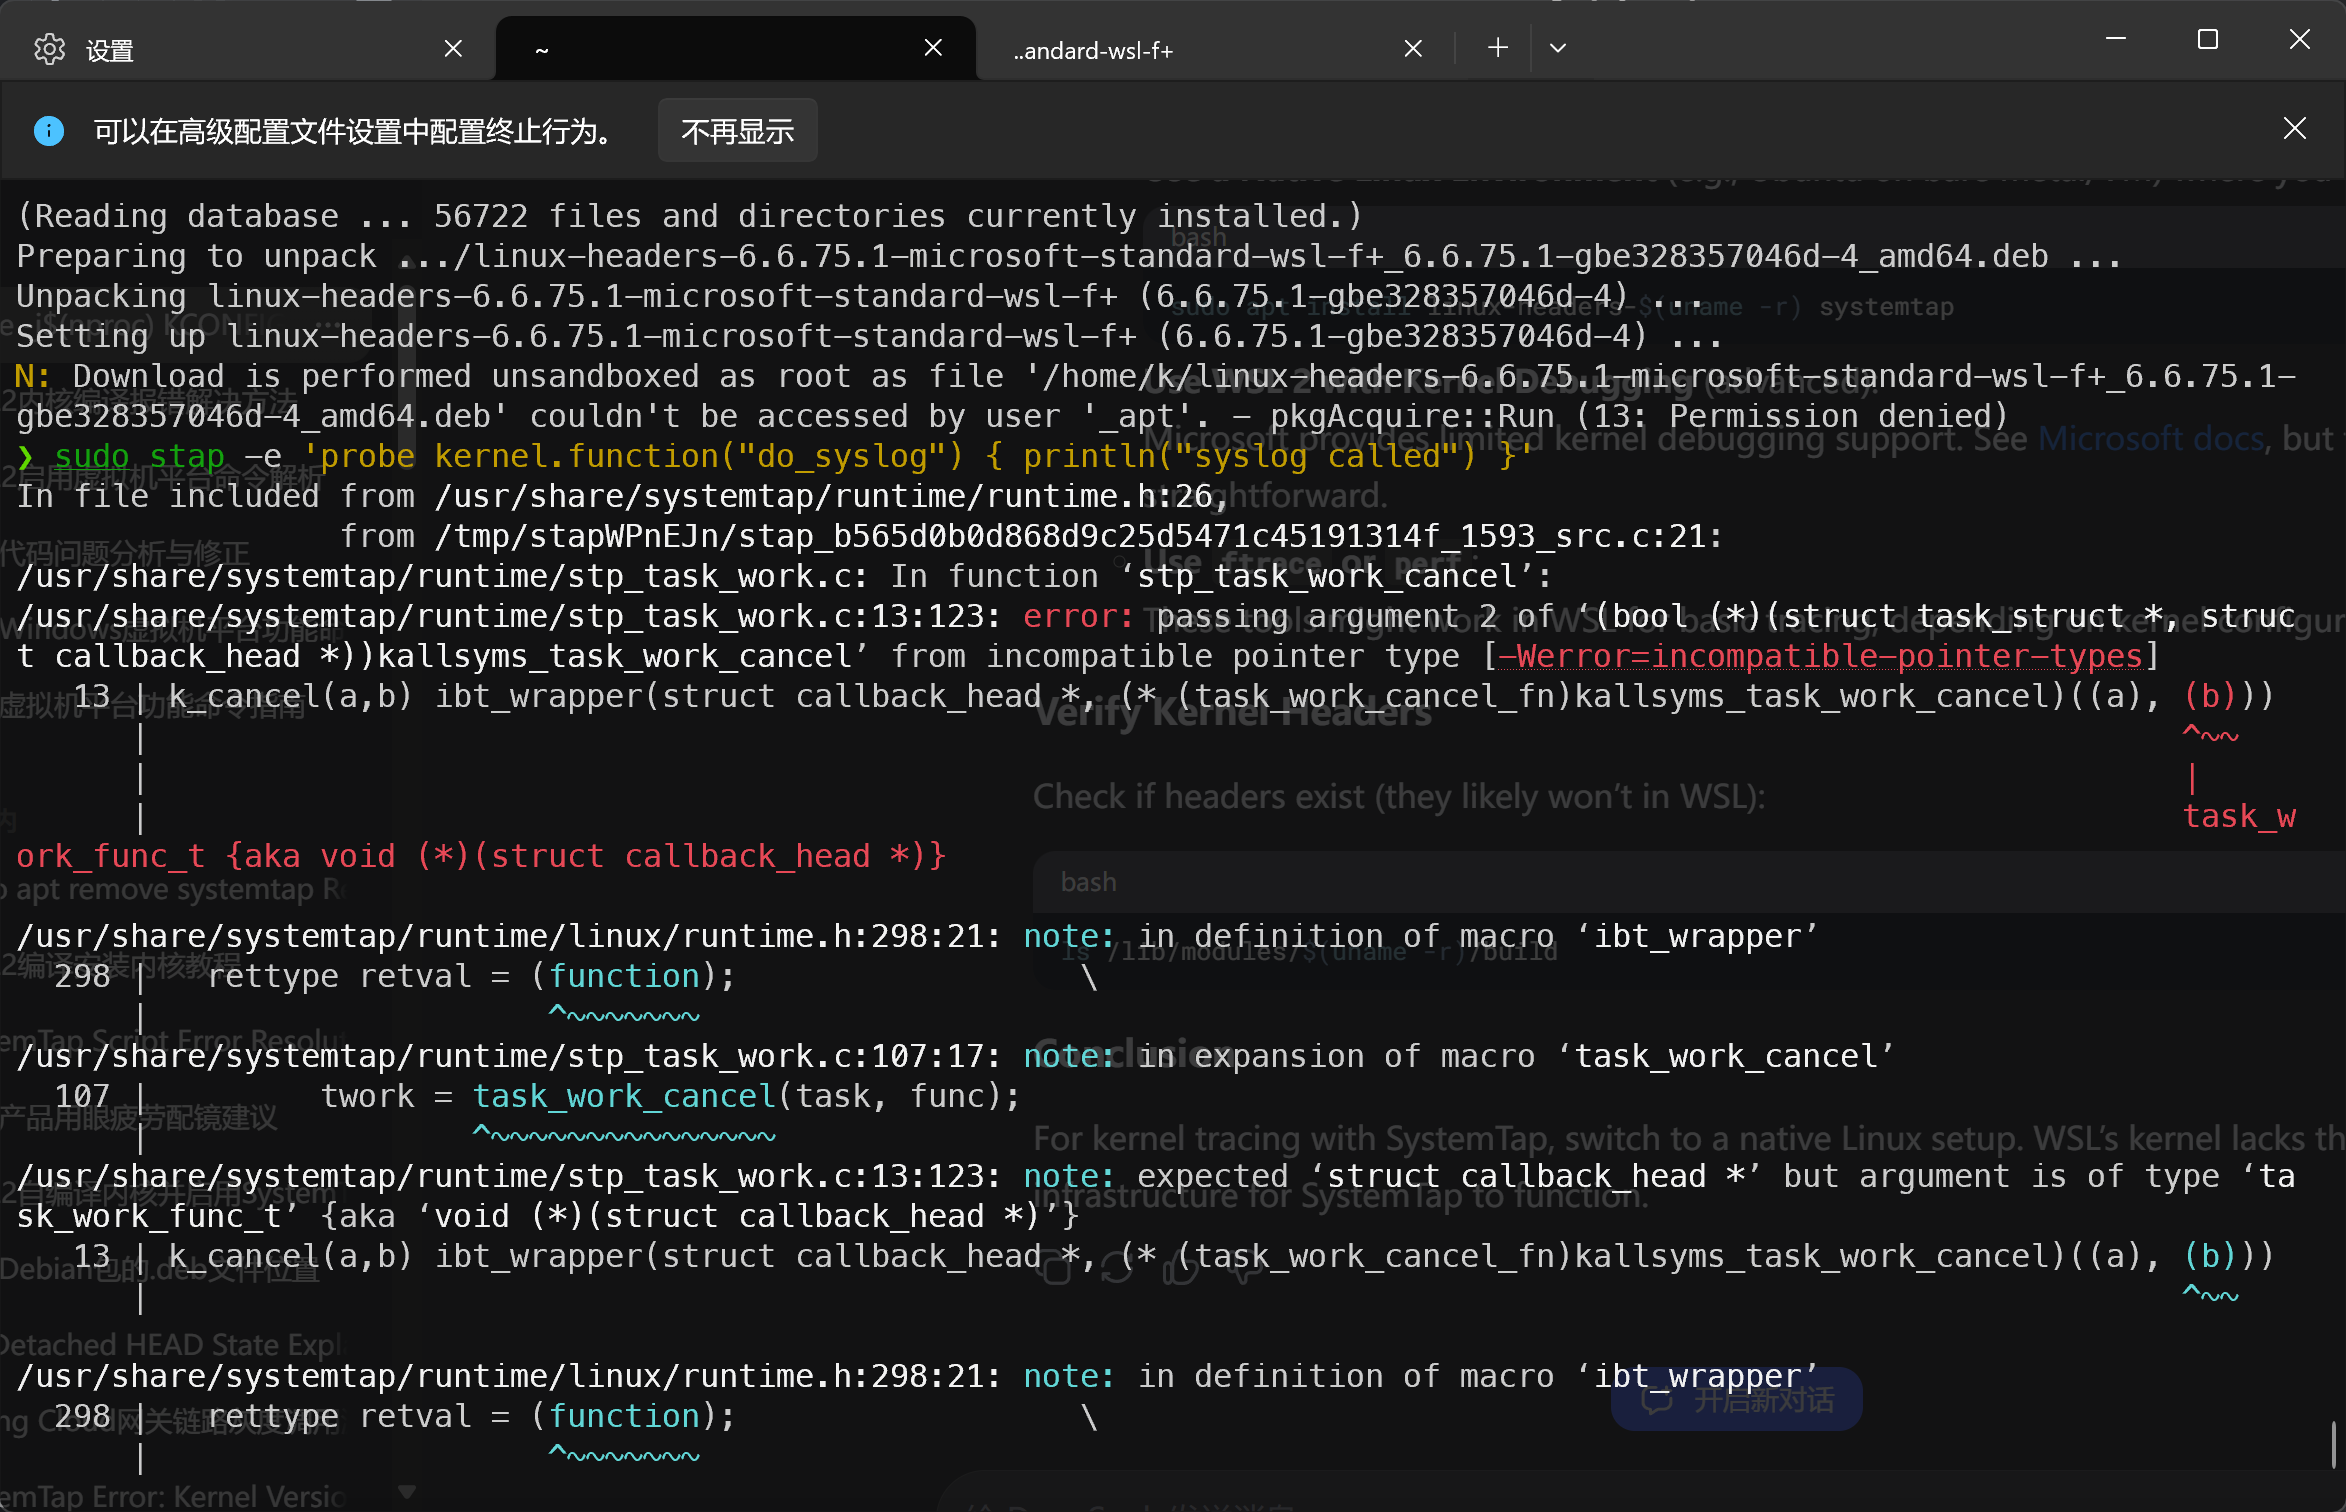
systemtap

推荐自编译安装,防止遇到其他问题

1
2
3
4
5
6
7
8
9
10
wget https://sourceware.org/systemtap/ftp/releases/systemtap-5.2.tar.gz

tar -xzvf systemtap-5.2.tar.gz

cd systemtap-5.2

./configure --prefix=/usr/local

make
sudo make install

image-20250316033859857

报错

configure: error: missing elfutils development headers/libraries (install elfutils-devel, libebl-dev, libdw-dev and/or libebl-devel)

答:缺失elfutils,手动编译安装

1
2
3
4
wget https://sourceware.org/elfutils/ftp/0.192/elfutils-0.192.tar.bz2
tar -xf elfutils-0.192.tar.bz2
cd elfutils-0.192
make && sudo make install

stap命令报错如下:

image-20250316032209624

答:卸载apt包管理安装的后,自编译安装重新执行命令成功


本博客所有文章除特别声明外,均采用 CC BY-SA 4.0 协议 ,转载请注明出处!